ZePrA | Global Settings | Gradation

Overview
Almost every printing process requires a tone value increase (TVI) correction shortly before printing, which is stored in the RIP of the platesetter. This tone value correction is primarily used to maintain printing standards and to compensate for intangible data in the printing process caused by a large number of factors, including the substrate and ink. These TVI corrections can be included in the data to be converted. Subsequently, only a linear conversion in the RIP software of the imagesetter is required for the exposure of the data.
By using gradation curves, tonal value corrections can be performed on process and spot colors. Gradation curves can be integrated into configurations and applied automatically, either after or instead of color conversion. The Gradations tool can be used to create the required gradation curves and then integrate them into Configurations (under Configurations in the Gradations tab).

Manage gradation curves
Create new gradation curves
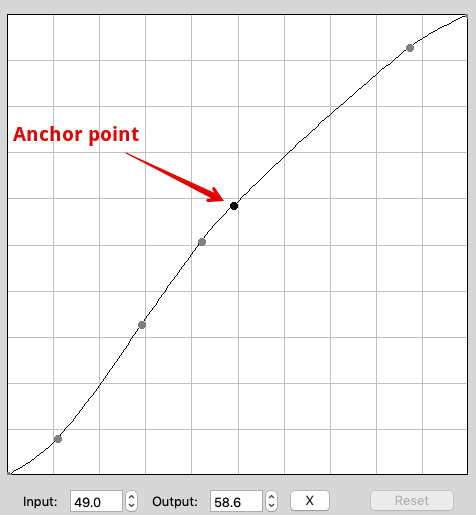
In the Manage Gradation Curves window, create New curves and Duplicate or Delete existing ones. New curves can be modified in the Curve Design panel either by clicking and moving the displayed curve with the mouse pointer or by entering values. If you would like to enter percentage values in the Input and Output fields, first create an anchor point in the curve by clicking on the curve.
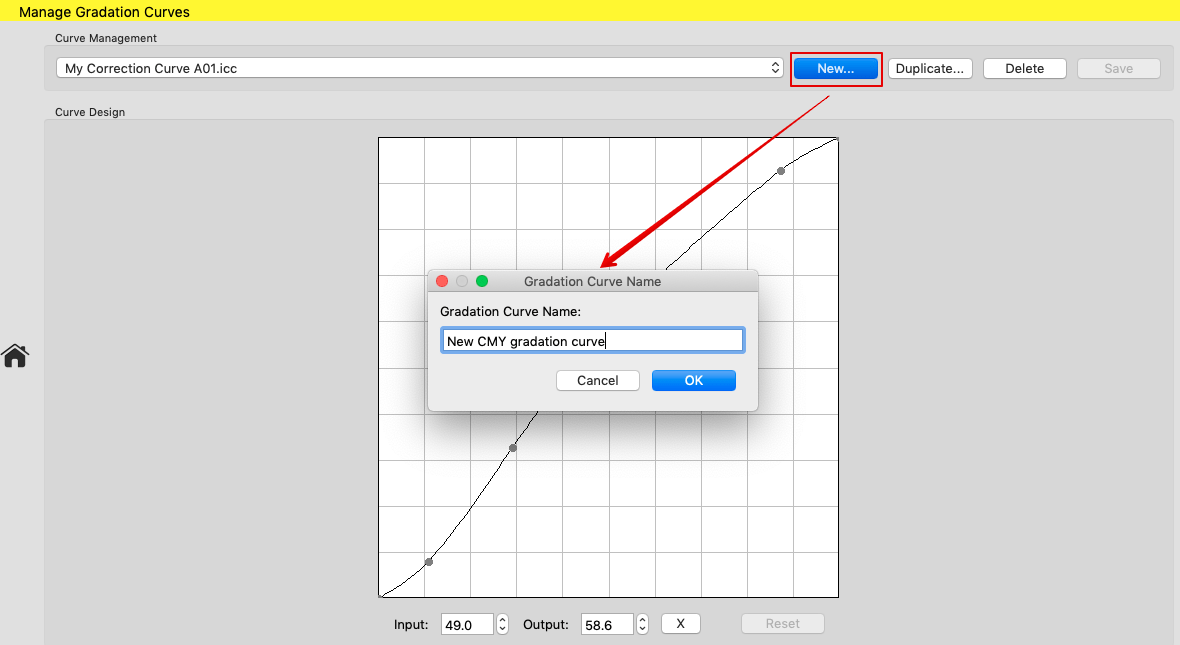
Creating a new curve
The entered values then refer to this anchor point. The X button is used to delete the selected anchor point.
Percentage values can be entered up to one digit after the decimal point. This allows for more precision of gradation corrections.
Note: The correction works most accurately with 16-bit data. For 8-bit data, the smallest change is 0.4 units (100/255=0.39), so corrections smaller than 0.4 cannot be applied.
Import and Export: This provides the option to export one or more gradation rules from one configuration and import them into another configuration.